Getting started
Logging into the Patchman Portal
This guide is meant for people who have a Patchman Portal account, who are attempting to log in or seeking aid in resetting their password.
If you don't have an account yet and are interested in trying Patchman, you can sign up for our free Insights trial here: https://portal.patchman.co/user/signup/.
Navigating to the login page
In order to get started, you can navigate to the Patchman management portal, found at https://portal.patchman.co/user/login/.
The portal is the central environment that allows you to manage and configure Patchman, as well as to gain insight regarding the problems it finds and fixes for your servers and users.
Entering your credentials and logging in
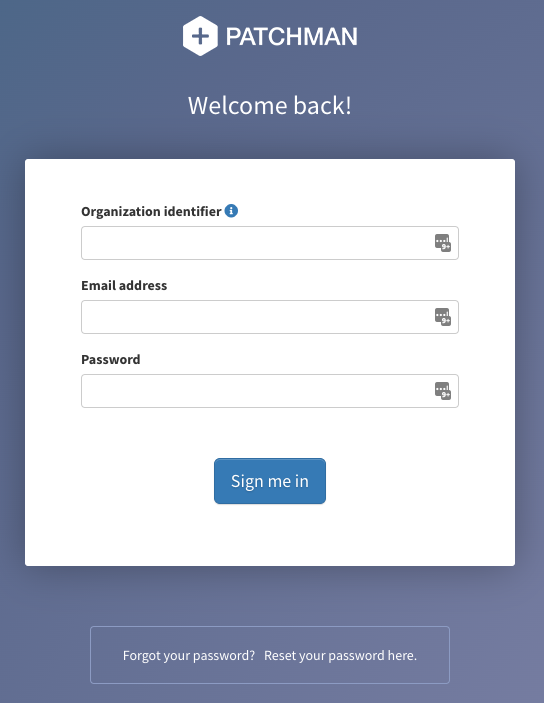
The login page asks for three credentials;
- Your organization identifier
- Your email address
- Your password
Hitting "Sign me in" on this page will log you into your Patchman portal account if the provided credentials have been entered correctly.
Recovering your credentials
There are three distinct methods to recover your credentials, should you lose them:
Organization identifier
- You can find the organization identifier on the original email sent to you upon creation of the Portal account, assuming you have not changed it in the interim.
- If you no longer have your sign-up email or have changed it since account creation and subsequently lost it, you can always reach out to support to recover your organization identifier.
Email address
- If you no longer know the email address with which you signed up for Patchman, you can reach out to support for aid in recovering your account.
Password
- If you no longer know your password, you can reset it via the link on the login page (or by direct navigation to https://portal.patchman.co/user/reset/). Note that this requires that you know your email address and organization identifier.
As always, if you have any questions or if anything remains unclear after reading this article, don't hesitate to reach out to support for further assistance!
Adding your first server
When you've just signed up for Patchman, the first thing you will want to do is add a server to start scanning for vulnerabilities. This only takes a few minutes and requires just a few simple steps.
Step 1: Find your license key
Make sure you are logged in to the Patchman Portal at https://portal.patchman.co. Navigate to the "Add server" option in the menu bar on the left side of the screen.
Located here is your license key, that you will need during the installation of the agent on a new server.
If this key is compromised, you can revoke it and generate a new one.
Step 2: Install agent
On the command line of the server you would like to install Patchman on, execute the following command:
wget https://download.patchman.co/install-patchman.sh && /bin/bash -e install-patchman.sh && rm -f install-patchman.sh
This downloads the install script for the Patchman agent, installs the agent, and then starts the Patchman daemon. The install script uses your operating systems' package manager (apt or yum) to install the agent, and performs a few checks to make sure your server is suitable for installing Patchman.
During the installation, the script will ask you for the license key you found in step one. After entering the key, the server will request and set up a license for your server and start connecting to the Portal.
Step 3: Verify installation
When the Patchman agent on the server is running, it is time to confirm the connection to your account in the Portal.
In step 3 of the "Add server" window in the Portal, there is a button called "Verify addition". When you click this button, the Portal will check if it can connect with your server, which if successful should give you a message like this:

When you see this message on your dashboard, you can click the message's link to add your new server. The only thing you need to do now is to verify the information and approve the connection of the server:
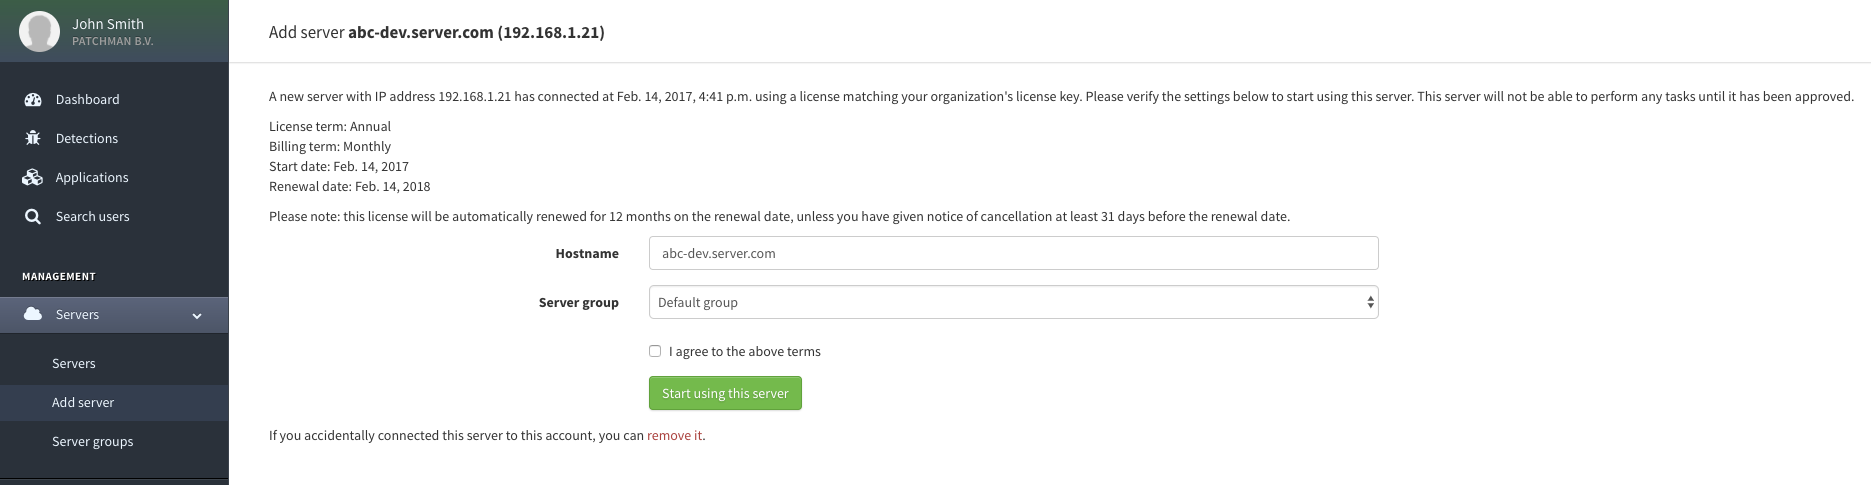
Once you have verified the process went well, your first server has been added successfully!
Troubleshooting
Please note that it might take a while for your server to connect to the Portal. This can depend on the amount of traffic we currently have queued. Any disturbances in our service are reported on the dashboard and on our status page. If the server is not connecting after you've installed the agent, please double-check if Patchman is running correctly on your server. If the agent is running without any issues, please allow for some time for the server to connect. A message will automatically pop up on your dashboard once your server has connected to the Portal.
In the rare case your agent is running correctly, there is no reported service disruption and the server still hasn't appeared after an hour, please contact our support department for assistance.
Insights Quick Start Guide
This guide is meant for people who have newly signed up for the Patchman Insights trial. In this brief guide you'll go from the signup process to taking a look at detections for your server(s).
If you don't have an account yet, and are interested in trying Patchman, you can sign up for our free Insights trial here: https://portal.patchman.co/user/signup/.
Step 1: Access the Portal
In order to get started, log onto the Patchman management portal, found at https://portal.patchman.co
The Portal is the central environment that allows you to manage and configure Patchman, as well as gain insight regarding the problems it finds and fixes for your servers and users.
Step 2: Adding the first server
Once you're logged in, the next step is to add your first server so you can start scanning. You can click the Portal's Dashboard notification:

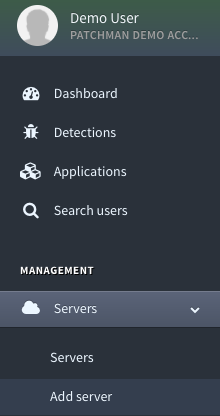
Or navigate to the "Add server" option in the left hand menu:
On the Add server page, you can find the instructions for installing the Patchman Agent on the server you're adding, and for adding and activating the license key that allows the agent to be linked to your Portal account.
Step 3: Set scan times
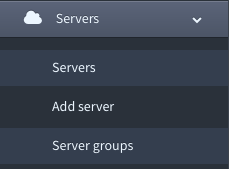
If desired, you can now navigate to the "Servers" menu option, in order to configure the scan timing for the newly added server:
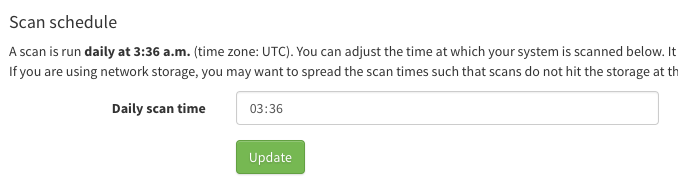
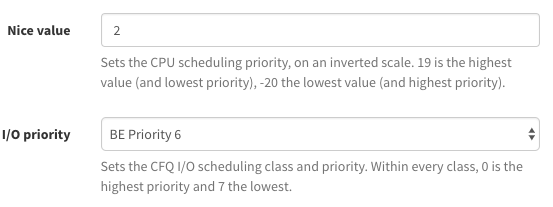
This allow you to determine when Patchman should run the daily scan for this server, usually during low activity hours. For even more configurability, you can use the 'Server Groups' section, and then the (default) group you added the server to, to set Nice value and I/O priority for the Patchman agent:
Step 4: A first look at Detections
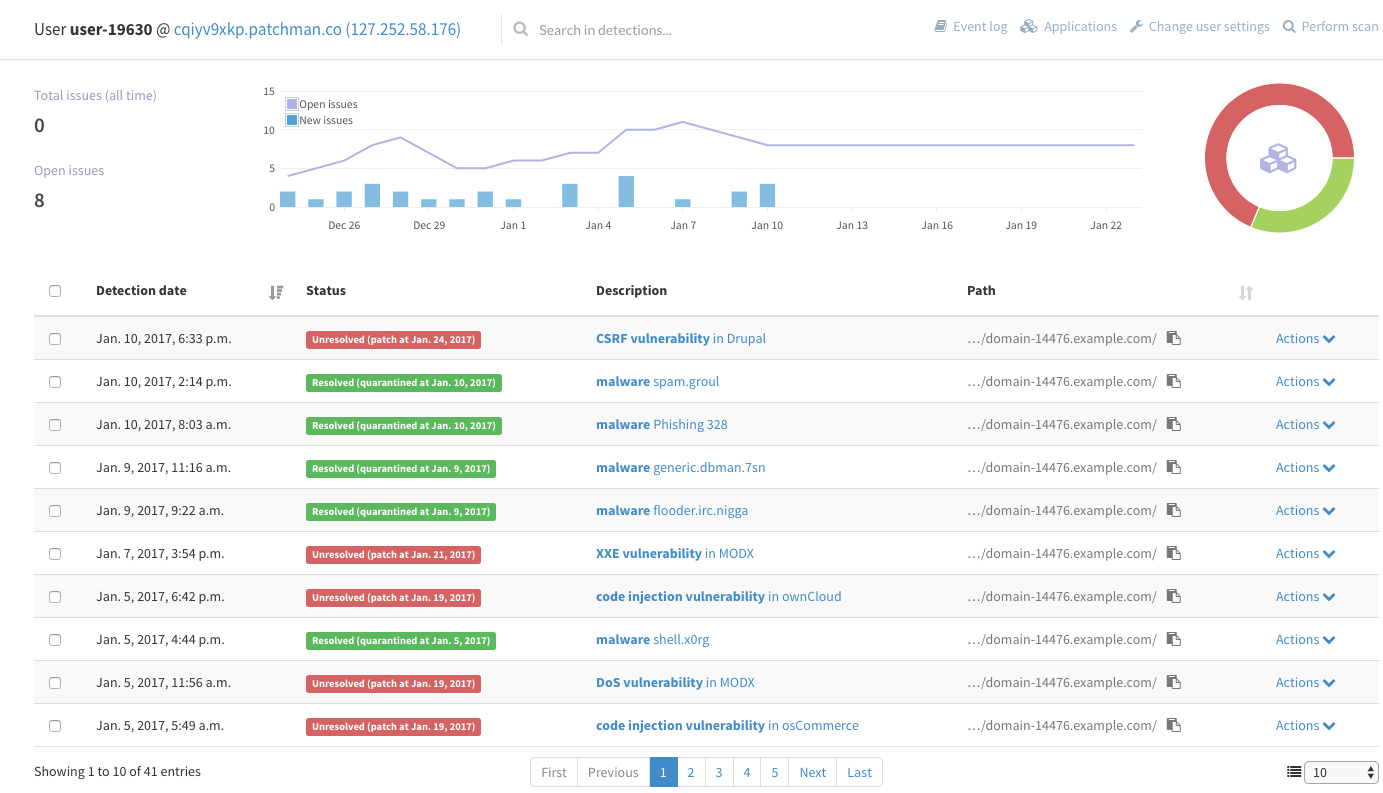
Once the server has been scanned by Patchman, you can go to the "Detections" or "Dashboard" portal options, to review the results for your platform. Detections especially will give you a very clear overview, across your entire platform as well as per server and per user, of what vulnerabilities and malware Patchman can find and Patch / quarantine.
Additionally, clicking on the 'Description' can offer you more information regarding a specific vulnerability of malware file.
Any issue shown through these overviews can be automatically resolved by Patchman when using the full version of the software. Additionally, you can configure any number of policies you want Patchman to use when dealing with detections.
This includes determining whether you notify your end-users and when, and customising the email templates to use for these notifications. This creates a flexible and powerful channel through which to inform and educate your end-users, and show them that you're on top of security with their best interests in mind.
Step 5: Learn more
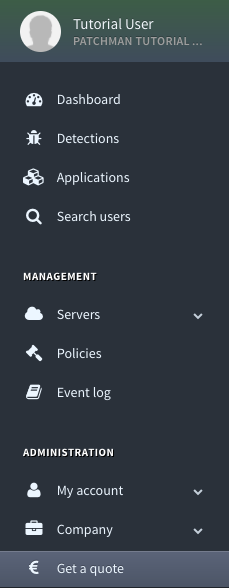
If you have any questions about detection results for your servers, or want to know more about features or volume pricing for the full Patchman product, feel free to reach out to us by requesting a quote through the "Get a quote" Portal option.
You can find the option in the left hand menu, or through this URL: https://portal.patchman.co/subscriptions/quote/
This also allows you to provide some additional data about your platform size and configuration, and include any comments or questions you might have about Patchman.
Alternatively, you can always send us an email.
Ready to buy?
If you're ready to buy and start Patching vulnerabilities on your servers, you can navigate to the upgrade page within the portal, which can be found at this URL (or Via the Billing > Change Plan option):
https://portal.patchman.co/subscriptions/change/
Contact us
If you wish to open a support ticket, please send an email to support@patchman.co. Include as much information as you can regarding your question or problem, including:
- Your organization identifier
- The server it concerns (hostname or IP)
- Any relevant logs (e.g. from /var/log/patchman) or error messages (e.g. screenshots from the Patchman Portal)
We strive to respond to you within 1 business day.